
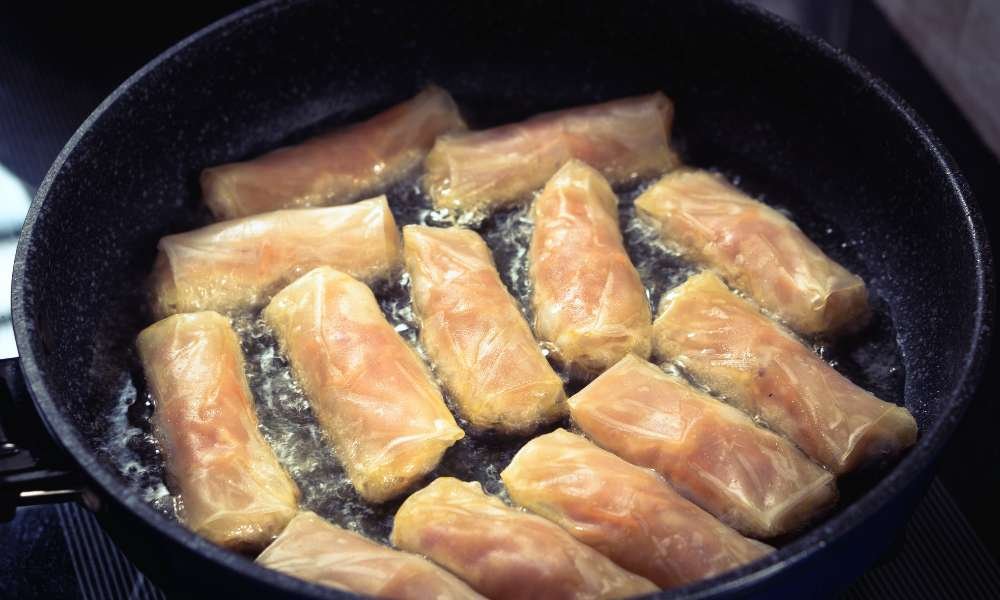
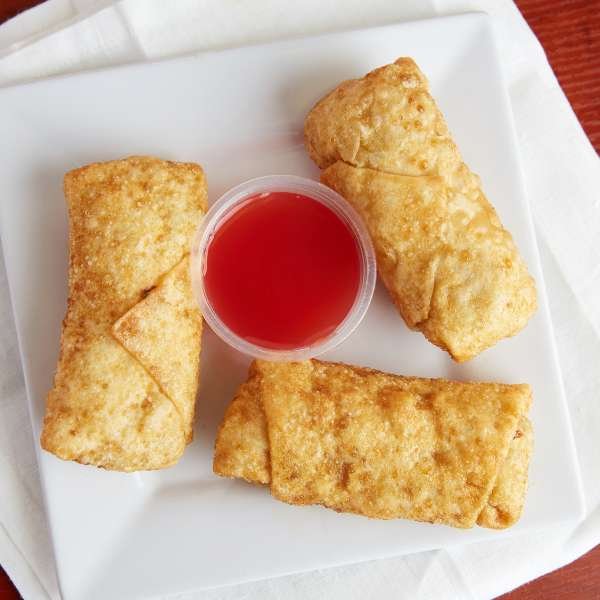
Frying egg rolls in a pan is a simple and delicious way to enjoy this crispy snack at home. Whether you’re craving a quick appetizer or looking for the perfect side dish, learning how to fry egg rolls in a pan ensures they come out golden, crispy, and packed with flavor. In this guide, we’ll walk you through the steps, from preparing your egg rolls to achieving that perfect crunch without the need for deep frying. Let’s get started on mastering this tasty treat!
Why Pan-Frying is a Great Cooking Method
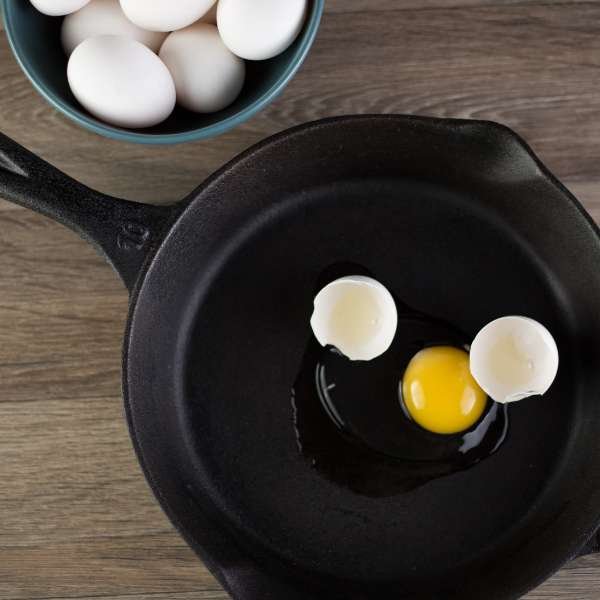
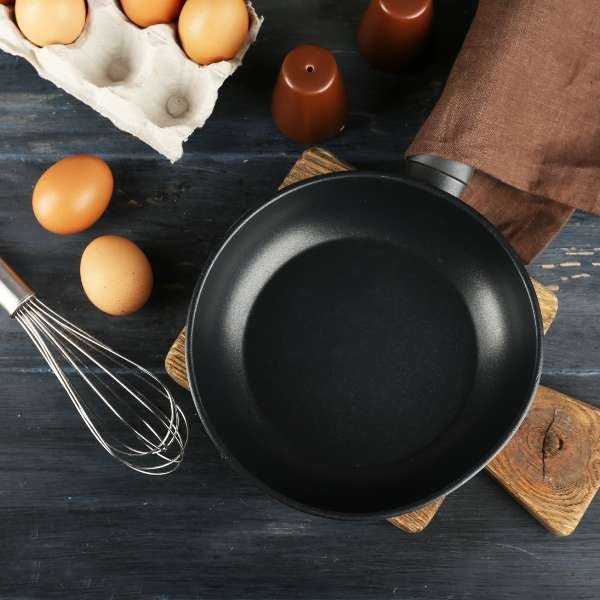
Pan-frying an egg in a stainless steel pan is a fantastic cooking method that delivers perfectly crispy edges and a tender, sunny center. Unlike non-stick pans, stainless steel distributes heat more evenly, which helps to cook the egg uniformly. This method also allows for better control over the browning process, giving the egg a delicious texture that’s both visually appealing and flavorful. Moreover, stainless steel pans are durable and versatile, making them ideal for those who prefer a kitchen tool that can handle high temperatures without the risk of degrading over time. Whether you like your eggs sunny-side-up or over-easy, pan-frying in stainless steel brings out the best in your breakfast.
Essential Tools and Ingredients for Pan-Frying
Before diving into this culinary journey, a few essential tools are needed. A good-quality pan is crucial—non-stick makes things easier, while cast iron adds extra depth in flavor. Tongs or a spatula help handle delicate items, and a paper towel-lined plate is key for draining excess oil. The ingredients you choose should also shine, from a neutral high-smoke-point oil like vegetable or canola, to fresh, flavorful fillings.
Choosing the Right Pan for Frying
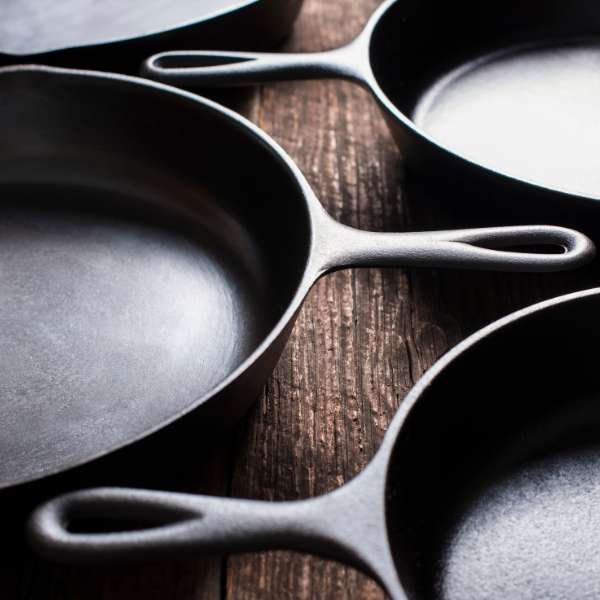
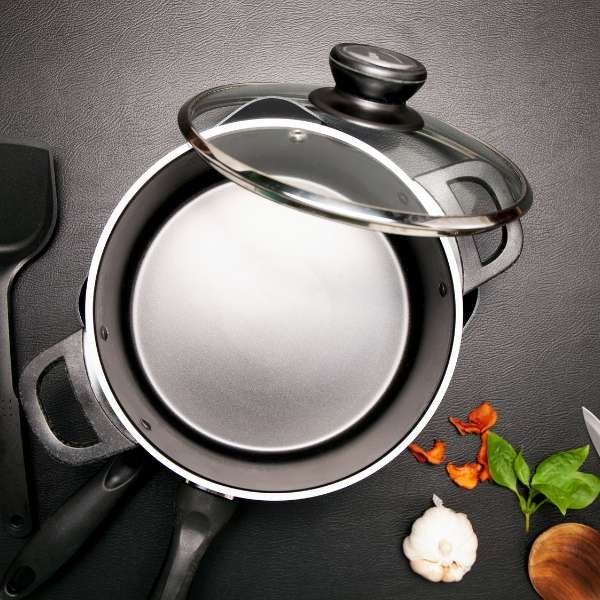
Non-Stick vs. Cast Iron: Which is Best?
For beginners, non-stick pans reduce the stress of food sticking. However, for deeper flavors, cast iron offers superior heat distribution, creating golden-brown perfection. Non-stick provides ease, but cast iron promises mastery in flavor development.
The Importance of Pan Size for Even Cooking
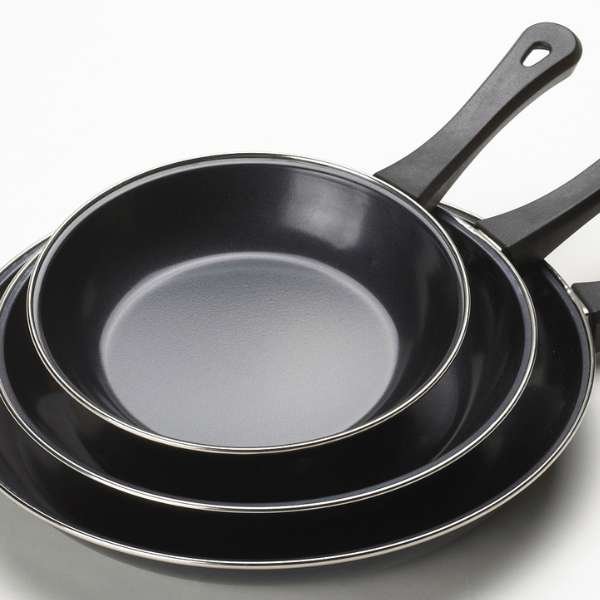
Too small, and your items crowd together, preventing proper crisping. Too large, and the oil spreads thin. A 10-12 inch pan strikes the perfect balance, offering enough room for even frying while avoiding steaming.
Preparing Wrappers for Pan-Frying
Choosing the Right Wrappers
Durability matters when it comes to wrappers. Thin ones can tear, allowing filling to escape, while sturdier ones handle frying better. Fresh wrappers are even more manageable, offering flexibility when it comes time to roll.
Rolling Techniques for Frying Success
Precision counts when rolling. Place your filling in the center, fold the sides, and roll tightly. A touch of water seals the edges, preventing unraveling during frying.
Preheating for the Perfect Fry
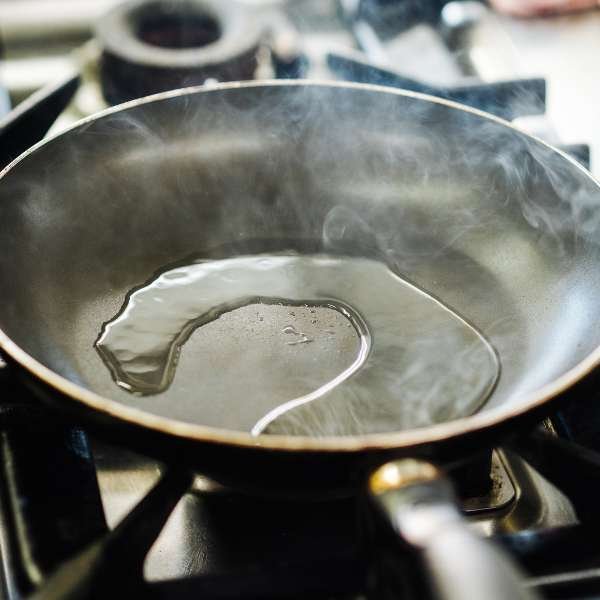
How to Heat the Pan Properly
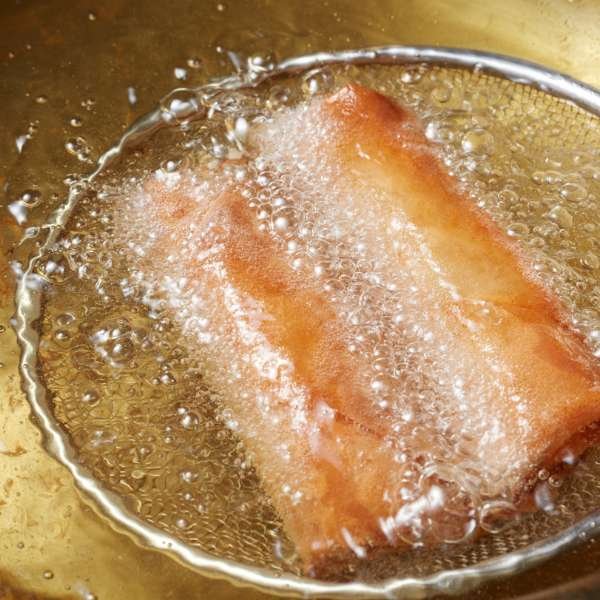
Preheat on medium until the oil shimmers, signaling it’s ready. Too cold, and the food absorbs oil; too hot, and it burns. The perfect shimmer indicates it’s time to start frying.
Common Preheating Mistakes
If the oil smokes, the temperature is too high. Lower the heat and wait for it to cool slightly. A shimmering surface is the green light for frying.
Choosing the Right Oil
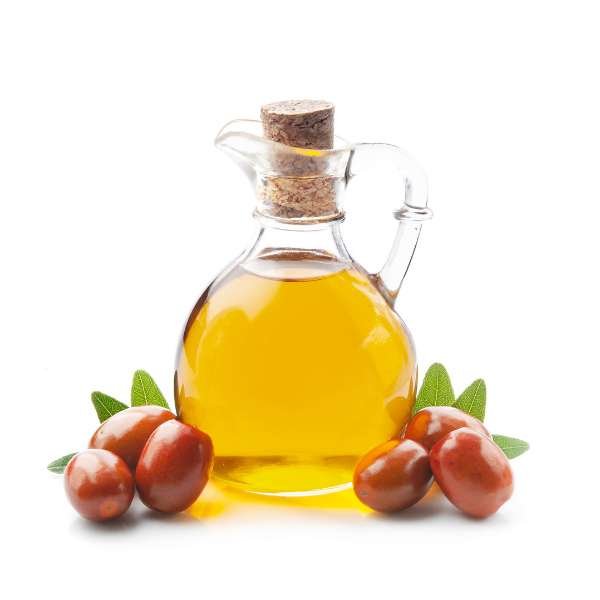
Oils with High Smoke Points
You need an oil that can handle the heat. Vegetable, peanut, or canola oils are perfect because of their high smoke points, ensuring they won’t burn while frying.
How Much Oil to Use
You don’t need to deep-fry. A shallow layer—around ¼ inch of oil—is plenty to crisp your food without overwhelming it.
Frying Techniques for Success
Placing Items in the Pan
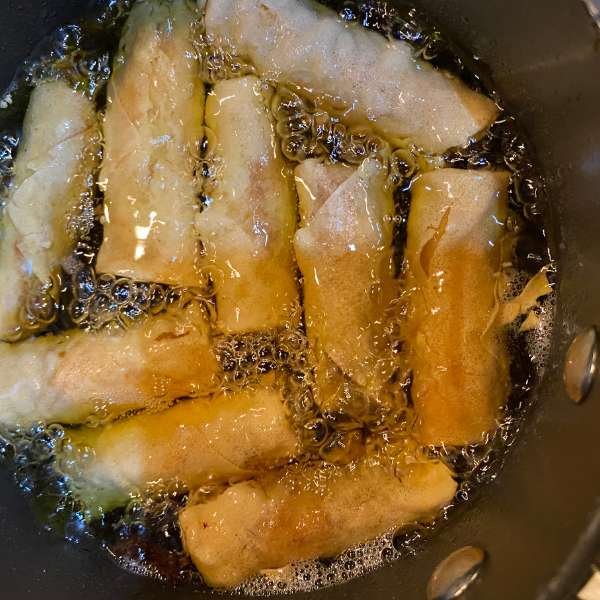
Place items gently into the pan, seam-side down if applicable. This prevents splatters and ensures the food remains intact while frying.
Timing and Temperature for Even Cooking
Cook for about 2-3 minutes per side over medium heat. This provides the right balance between crisping the exterior and cooking the interior to perfection.
Flipping and Turning Techniques
Flipping for Best Results
Less flipping equals more control. Flip once or twice for an even, golden-brown finish. Too much flipping risks breaking delicate items.
Best Tools for Flipping
Tongs or a spatula offer the best handling. Forks are risky—they can pierce the wrapper or exterior, allowing the filling to spill.
Achieving the Ideal Crisp
Avoiding Sogginess
Moisture is the enemy. Ensure the pan isn’t crowded and the oil is hot enough to avoid steaming, which leads to soggy results.
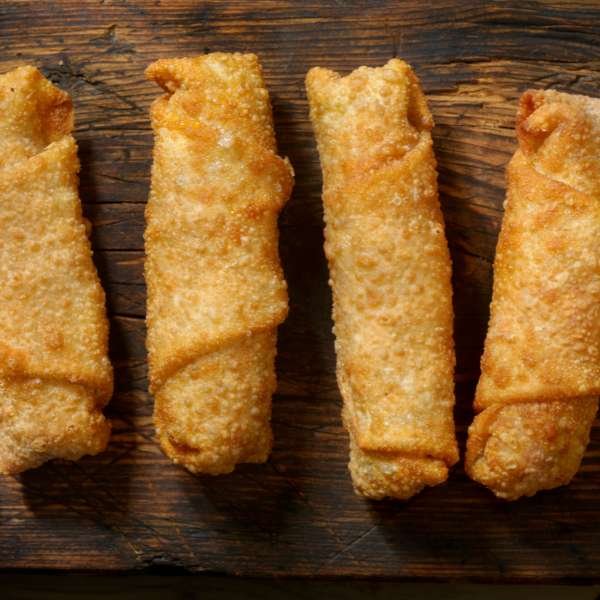
The Path to Golden Perfection
Patience is key. Let each side cook until golden-brown without rushing. The result is worth the wait.
Managing Splattering Oil

Safety First
Hot oil can be dangerous. Use a splatter guard and lower items into the pan carefully to avoid oil splashes. Always maintain a safe distance from the pan.
Reducing Oil Splatter
Dry your ingredients before frying. Any moisture can cause violent splattering, so preparation is crucial to keeping the kitchen safe and clean.
Draining Excess Oil
Storing Leftovers
After cooking, drain the food on paper towels to absorb excess oil. For leftovers, store them in an airtight container in the fridge for up to three days, or freeze for longer storage. Reheat in the oven for best results.
Healthy Alternatives
Less Oil, Same Crisp
A light oil spray or shallow fry can help reduce calories while maintaining flavor and texture.
Air-Frying vs. Pan-Frying
Air-frying offers a healthier alternative, though it may lack the deep crispiness of pan-frying. Still, it’s a great choice for those looking to cut back on oil.
Troubleshooting Common Issues

Sticking Issues
If food sticks, use a spatula to gently loosen it. A well-heated non-stick or cast iron pan usually prevents sticking from the start.
Fixing Burnt Bits
Slightly burnt? Scrape off the burnt parts and lower the heat for the next batch. No need to start over—you can still salvage the dish.
Making Ahead for Convenience

Freezing Tips
Freeze items flat on a baking sheet before transferring to an airtight container. This prevents sticking and makes frying easier later on.
Preparing for Quick Frying
You can prepare everything ahead of time and store in the fridge for up to 24 hours before frying. When you’re ready, fry them fresh for the best texture.
Pairing with Other Dishes

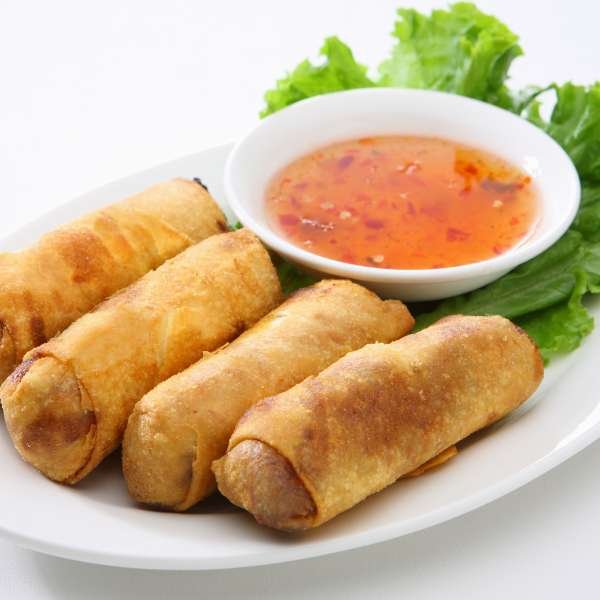
Perfect Side Dishes
Light sides like cucumber salad, stir-fried vegetables, or jasmine rice pair perfectly with crispy fried food, balancing the meal with freshness.
Best Drinks
Chilled iced green tea or a citrusy lemonade provide a refreshing contrast to the richness, cleansing your palate between bites.
Conclusion
Pan-frying offers a versatile and managed method for reaching crispy, flavorful dishes at home. With much less oil and more room for creativity, this technique provides golden-brown perfection each time. Whether you’re experimenting with new flavors or sticking to standard recipes, pan-frying ensures a satisfying crunch with each bite.