
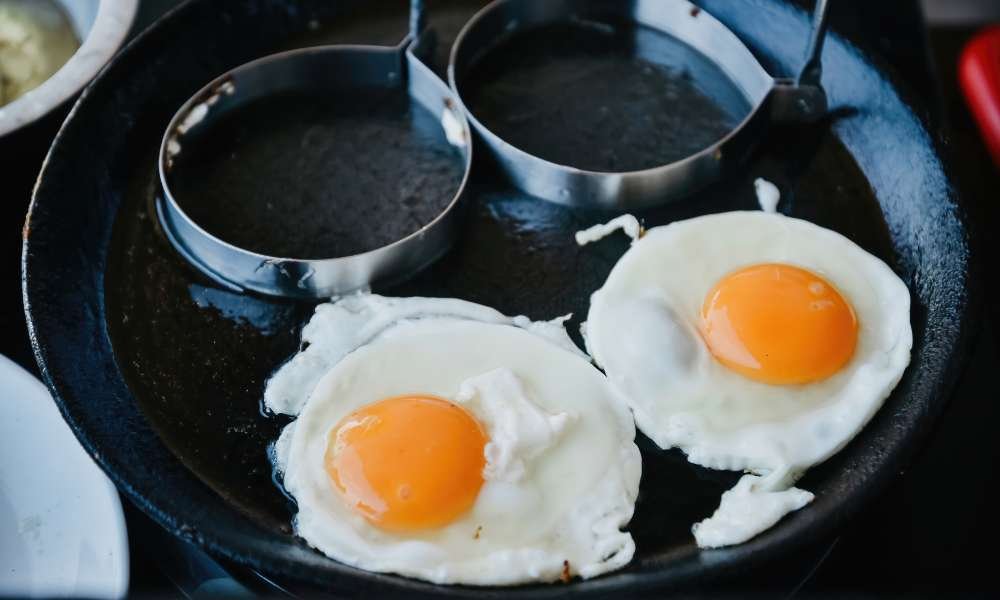
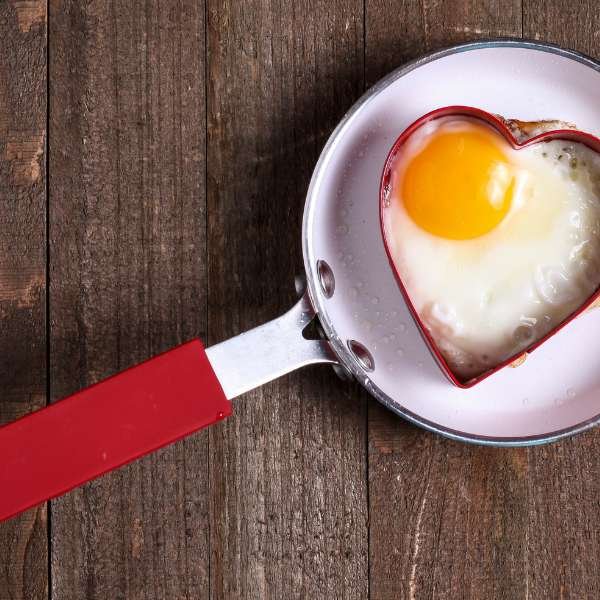
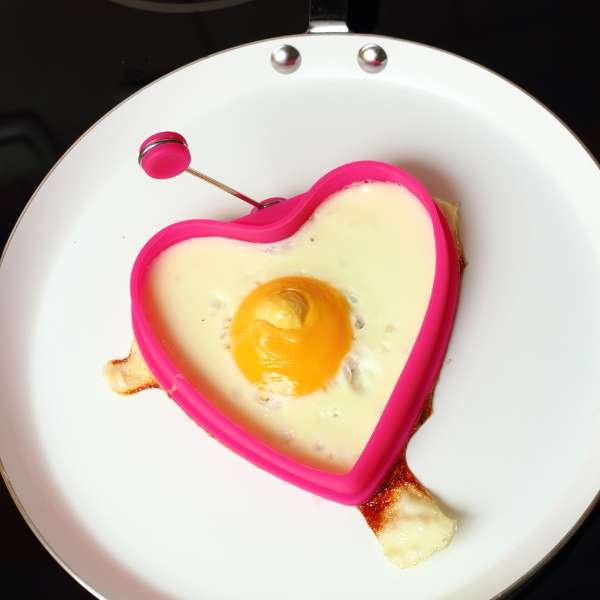
Egg rings are a convenient kitchen tool that allows you to cook perfectly round eggs in a frying pan. If you’re wondering how to use egg rings in a frying pan, it’s a simple process that keeps your eggs contained for even cooking and a polished presentation. Whether you’re making breakfast sandwiches or just want a more uniform shape, egg rings ensure your eggs don’t spread out. With a little oil and heat, mastering egg rings in a frying pan can elevate your cooking and bring a professional touch to your meals. Here’s how to get started!
What Are These Tools and Why You Need Them in Your Kitchen
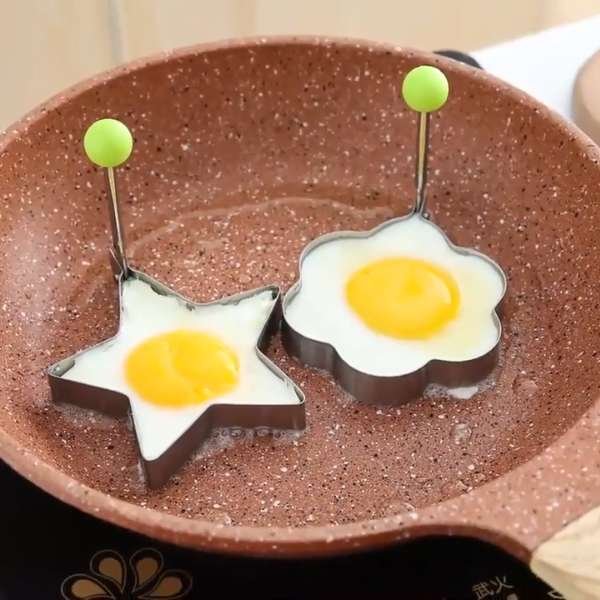
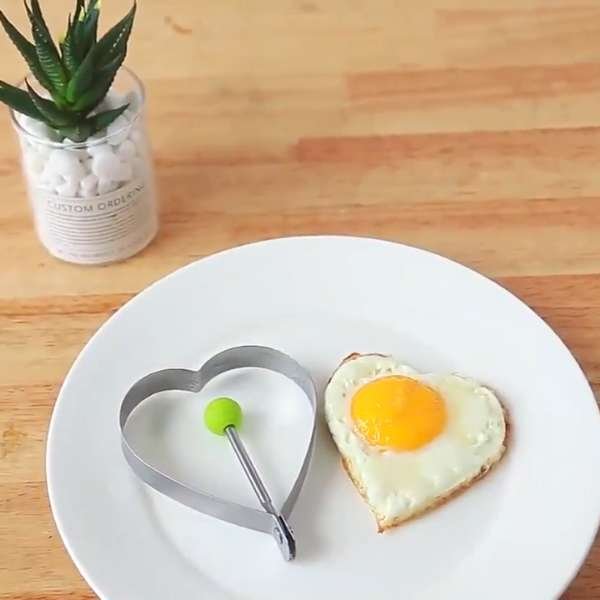
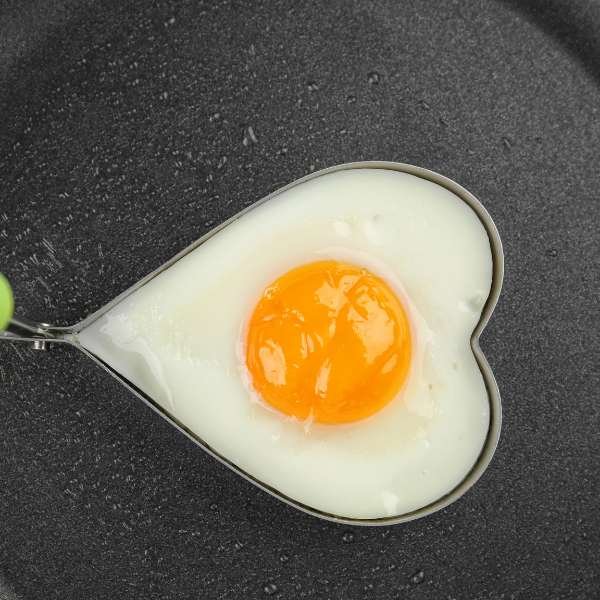
These tools are small, simple kitchen helpers, yet their impact is profound. Crafted from silicone, metal, or plastic, these circular shapes do far more than corral errant whites. They impose symmetry where chaos usually reigns. Perfectly portioned, uniform items are ideal for sandwiches, or even social media-worthy plates. In truth, these molds may appear optional, but once introduced, they become essential. The consistency they provide is unrivaled, making them indispensable for anyone pursuing mastery—or simply an aesthetically pleasing breakfast.
Choosing the Right Frying Pan for Using These Tools
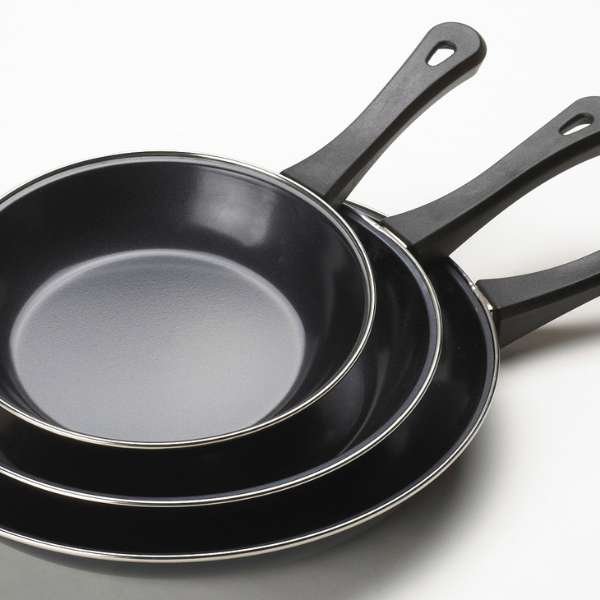
The frying pan is the canvas, and the mold is the brush, but only with the right pan does the magic happen. A flat, even surface is non-negotiable, allowing the shapes to rest snugly, keeping the mixture contained. Non-stick pans? An excellent choice, their smooth surfaces mitigating any fears of a sticky, scrambled mess. But don’t discount the cast iron stalwart. Cast iron, with its robust heat retention, ensures your shapes fulfill their destiny of perfectly cooked, round delights. Whatever you choose, avoid warped or uneven pans—such imperfections disrupt the culinary harmony these shapes create.
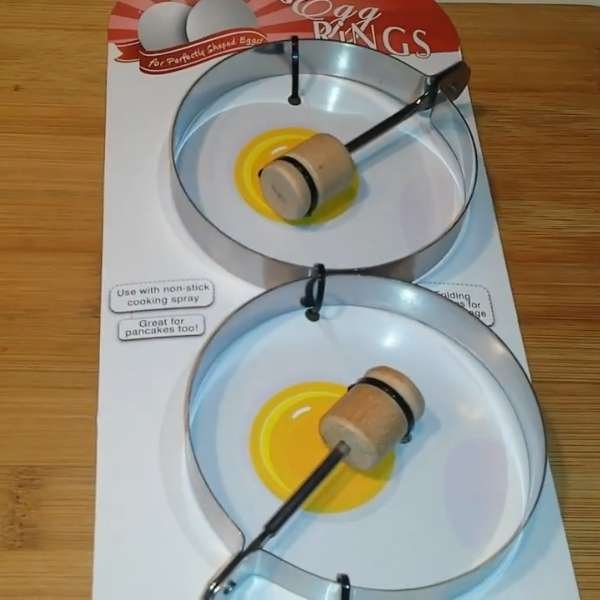
Materials of These Molds: Which One Suits Your Cooking Style?

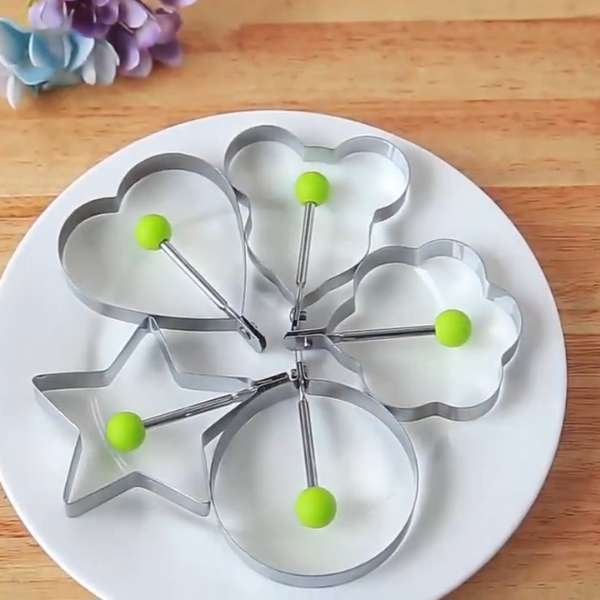
The world of molds offers variety, each material holding unique attributes. Silicone is soft, pliable, and effortlessly non-stick, but struggles at higher temperatures. Metal, on the other hand—whether stainless steel or aluminum—exudes durability, withstanding intense heat while delivering precise forms. Yet, metal shapes demand respect, requiring more oiling to avoid clingy messes. The choice between silicone and metal lies in how often you cook and what kind of control you seek. Metal provides longevity, while silicone promises simplicity. Both have their merits, but your kitchen’s needs dictate the ultimate decision.
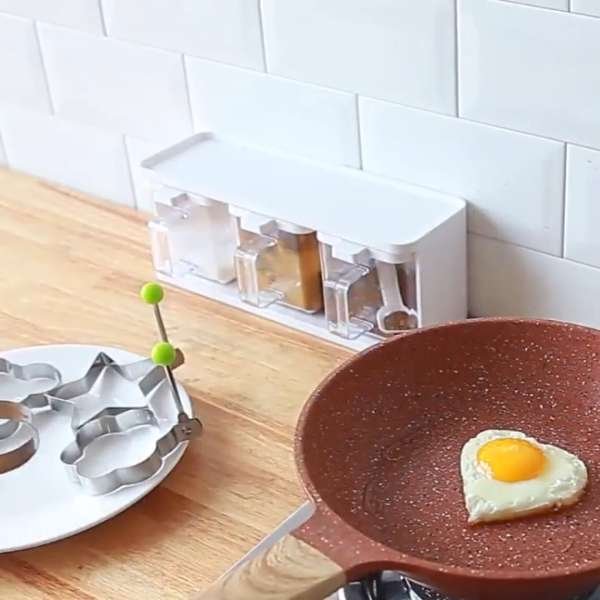
Preparing Your Frying Pan: The Key to Effortless Cooking
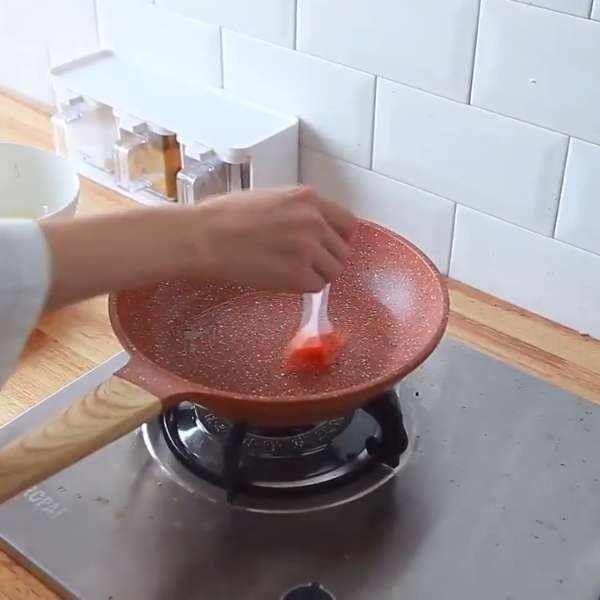
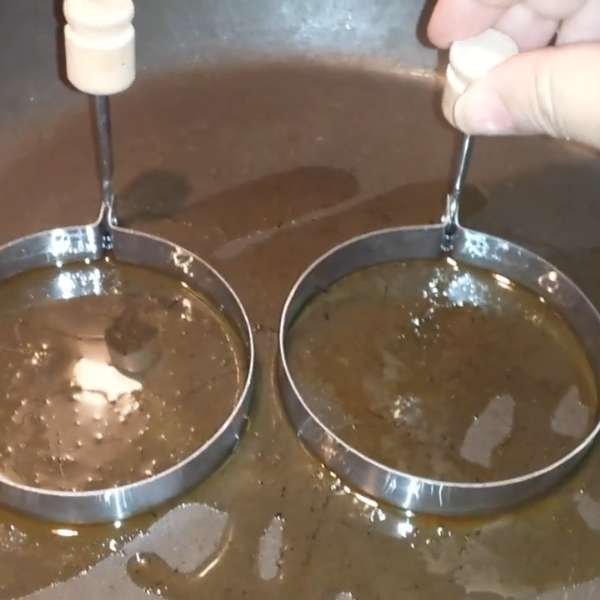
Preparation forms the foundation for mold excellence. Begin with a calm, even heat. Preheating the frying pan is paramount; a lukewarm pan leads to spills beneath the molds, marring their pristine form. Next, introduce a light layer of oil or butter, creating a protective shield against any chance of sticking. Patience is required—allow the pan to heat thoroughly before adding your molds. A delicate balance of warmth and preparation ensures every item begins its journey toward perfection without delay or misstep.
How to Properly Oil and Heat Your Molds
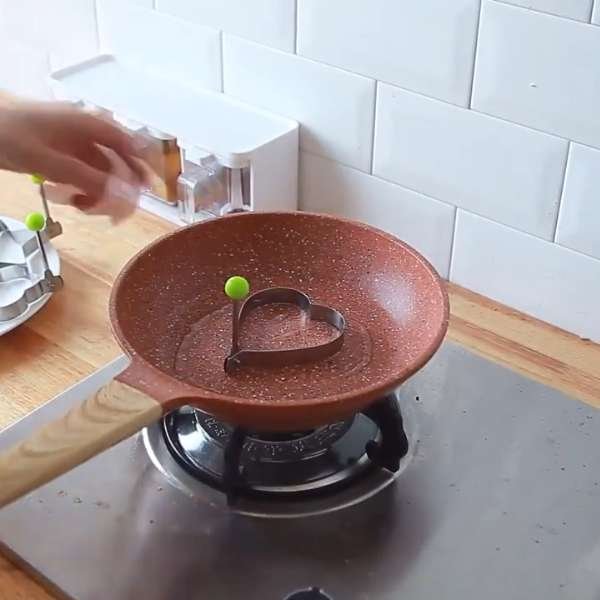
A light touch makes all the difference. Molds, particularly metal ones, demand a gentle sheen of oil to release the contents without resistance. A quick spray or brush with neutral oil suffices. As the frying pan preheats, place the shapes inside, allowing them to warm slightly. This prevents any cold shock and aids in even cooking. With the shapes warmed, you’re ready to add your ingredients, watching as they firm quickly, securely encased within the mold’s border.
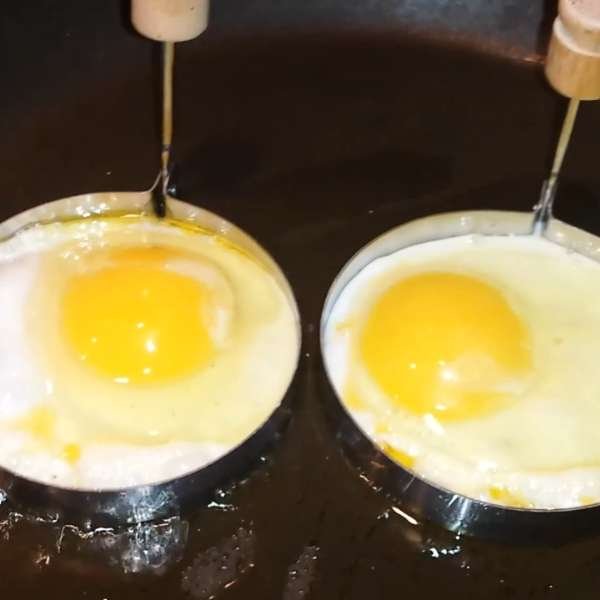
Step-by-Step Guide to Using Molds in a Frying Pan
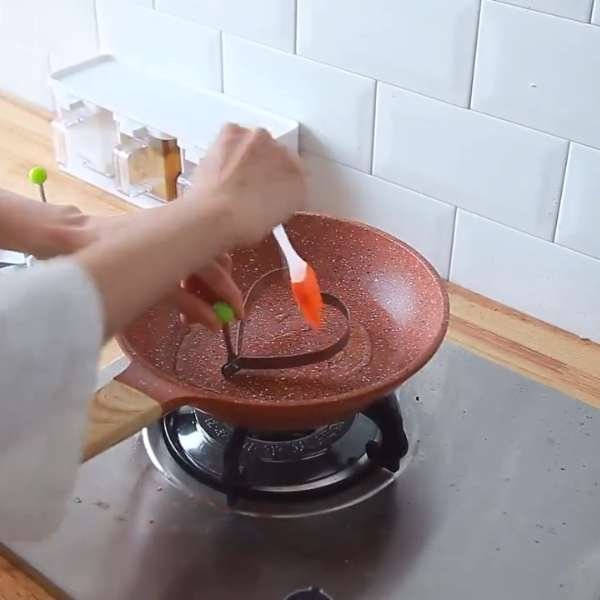
1. Lightly coat both the pan and molds with oil.
2. Gently place the molds into the preheated pan.
3. Add the mixture into each mold, ensuring it remains centered.
4. Cook over medium heat, covering the pan for well-done items if desired.
5. Once cooked to your preference, carefully lift the molds away using tongs or a fork.
6. Serve your flawless creations atop toast, within sandwiches, or as part of a balanced breakfast.
Common Mistakes to Avoid When Using Molds
Even seasoned chefs face setbacks with shapes if they’re not cautious. One misstep is insufficient preheating of the pan, which leads to the dreaded seepage beneath the mold’s perimeter. Too little oil, and you risk sticking; too much heat, and the bottom burns while the top stays raw. Consistency in heat and preparation are your allies. Avoid rushing, and allow the process to unfold naturally—patience rewards with perfectly formed results.
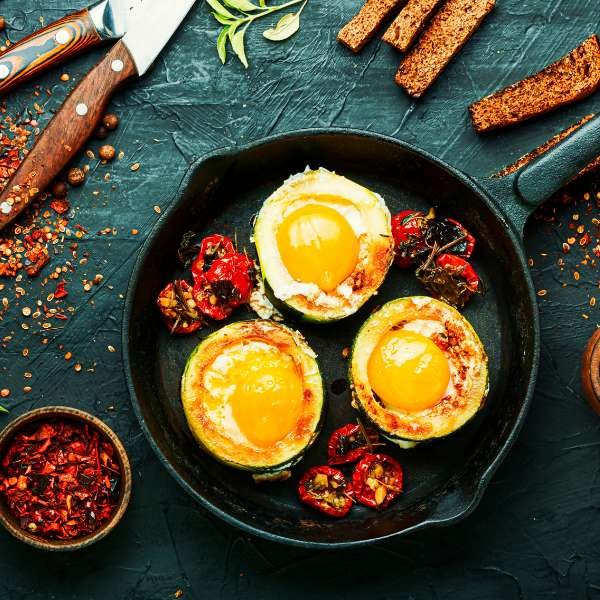
Creative Ways to Use Molds for More Than Just Eggs
Molds are far from a one-trick pony. Beyond standard breakfast items, they create flawless pancakes, miniature omelets, even burger patties. For those with a sweet tooth, try shaping small, uniformly sized crêpes or hash browns. shapes unlock creative potential in the kitchen, allowing you to mold not just breakfast but an array of meals. Their versatility makes them ideal for meal prep, delivering precision and uniformity to portions across a variety of dishes.
Perfecting Your Fried Items: Tips for Beginners Using Molds
Beginners must embrace patience when tackling the art of frying with molds. The secret? Resist the temptation to remove the shapes prematurely. Let the contents set fully within their confines. If you prefer your items cooked on top, consider covering the pan with a lid to cook the tops without flipping. Consistent, low heat yields the best results, preventing browning while ensuring an even, thorough cook.
How to Prevent Sticking to Molds
Sticking can derail even the most well-planned breakfast. To avoid this culinary calamity, ensure that both the shapes and the frying pan are well-greased. Even silicone molds, which boast non-stick properties, benefit from a light coating of oil. Metal molds, in particular, require a delicate balance of oil to glide smoothly away from your cooked items.
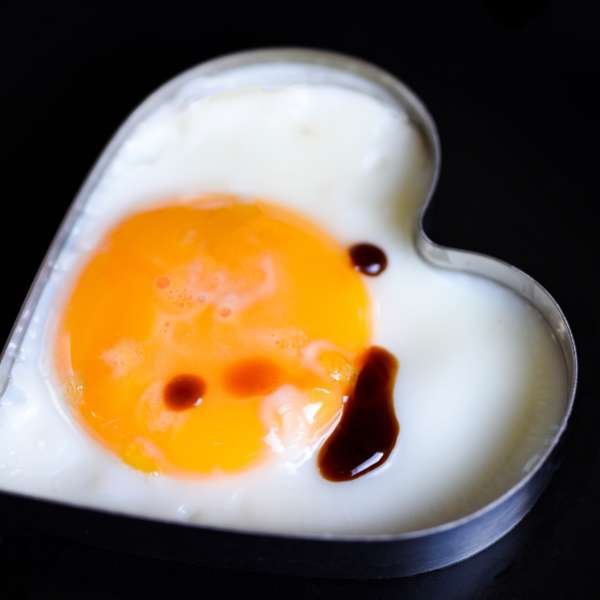
Cooking Times: How Long Should You Cook with Molds?
Timing is everything. If you desire a runny center, around three minutes of cooking should suffice. For those who prefer a solid center, give it closer to five minutes. Covering the pan with a lid allows for even cooking on the top, especially when avoiding a flip. Just remember to check periodically, ensuring your items don’t overcook.
Can You Use Molds on Non-Stick Frying Pans? Pros and Cons
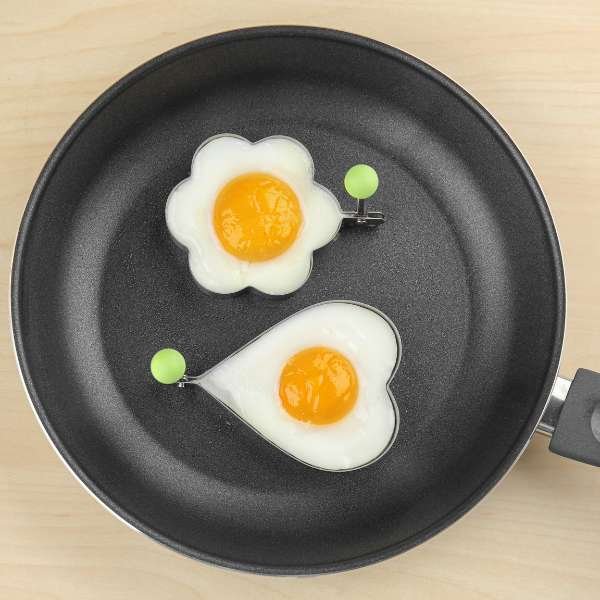
Non-stick frying pans are compatible with molds, offering a smooth cooking experience that minimizes sticking. However, be mindful that over time, non-stick coatings can wear down under high heat, especially if metal shapes scratch the surface. Silicone molds, softer and gentler, are an excellent match for non-stick pans, preserving their integrity while delivering perfectly formed items.
Healthy Breakfast Ideas Using Molds
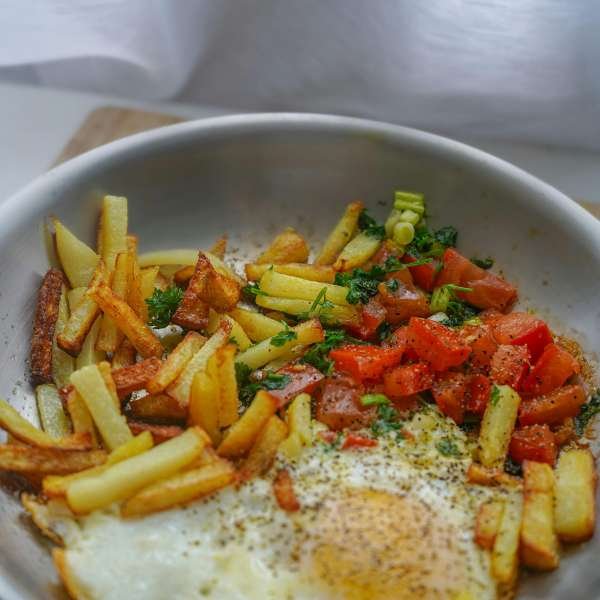
Frying egg rolls in a pan can be a quick and delicious way to start your day, especially when paired with healthy breakfast ideas using molds. Egg molds are versatile kitchen tools that help shape your eggs into fun designs while keeping portions controlled. To make your breakfast more exciting, try filling egg molds with a variety of healthy ingredients like spinach, tomatoes, and cheese, then pan-fry them alongside the egg rolls. The egg rolls provide a crispy exterior while the molds offer a nutrient-packed, perfectly portioned bite. This combination allows you to enjoy a balanced meal that’s rich in protein and veggies, perfect for fueling your morning without the need for excessive oils or fats.
Food Preparation Molds: Save Time in the Kitchen
Improve your food prep routine with molds. Preparing the same portions ahead of time can save valuable time on busy mornings. Cook pancakes, and even vegetable fillings ahead of time. Then store it for easy reheating throughout the week. The stability of the mold makes it ideal for efficient and time-saving kitchen work.
The Best Tools to Use with Your Molds
A well-equipped kitchen enhances the mold experience. A pair of tongs or a spatula can help lift the shapes safely out of the pan. Meanwhile, the silicone brush helps to apply the oil evenly. Pan lids also have a valuable role, allowing you to fully cook items without flipping. This results in the top of the pan contents being perfectly cooked.
Clean and Care for Your Molds to Ensure Longevity
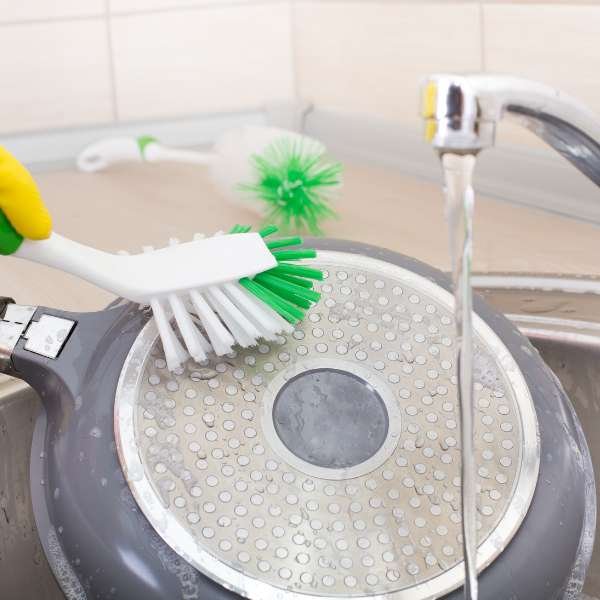
Molds need proper care to ensure their longevity. Silicone shapes can generally withstand the harshness of a dishwasher. Metal molds, on the other hand, require a gentler hand. Use soapy water and a mild scrub to preserve the finish and avoid corrosive substances that may deteriorate the surface. A well-maintained mold will serve you faithfully for many years.
Troubleshooting Common Problems When Using Molds
Did your item leak? Maybe your pan wasn’t properly heated before you started. If the contents are sticky, try adding a thin coat of oil or butter next time. Uneven cooking is often the result of poor heat distribution. Ensure the pan is flat and adjust the temperature as needed.
Molds vs. Other Sizing Tools: Which Is Right for You?
Although molds are the winner for circular perfection, they aren’t the only tools in the kitchen. Cookie cutters or pancake shapes offer creative variety in shape and size. Opt for shapeswhen precision is paramount, but explore other tools for fun and flair in your culinary creations.
Where to Buy Molds and Which Brands to Trust
From kitchen stores to online markets, shapes are widely available. Reputable brands like OXO, Norpro, and Tovolo produce high-quality options. Customer reviews are invaluable when choosing which shapes to purchase, as they provide insight into durability and ease of use.
Molds and Sustainability: Are They Eco-Friendly?
Silicone shapes boast sustainability due to their durability and reusability. Metal molds, too, have a long lifespan if properly cared for. By investing
in high-quality molds, you reduce waste and the need for disposable kitchen utensils, helping in the cooking process that is environmentally friendly.
Molds as a Fun Kitchen Gadget: Why Beginners Love Them
A mold is more than just a tool—it’s fun! Simplicity turns everyday cooking into an enjoyable experience. Beginners enjoy the ease of use, while experienced chefs appreciate precision. Whether you’re new to the kitchen or a culinary expert, Shapes will bring joy to your breakfast.
conclusion
Master the art of cooking with shapes in a pan. Using shapes is a journey to breakfast perfection. From similarly sized items to creative and flexible food presentation routines, these kitchen gadgets deliver time and time again. A little practice goes a long way, and soon you’ll be wielding shapes like a skilled chef. Turn every breakfast into an artistic culinary experience.in a pan. Using shapes is a journey to breakfast perfection. From similarly sized items to creative and flexible food presentation routines, these kitchen gadgets deliver time and time again. A little practice goes a long way, and soon you’ll be wielding shapes like a skilled chef. Turn every breakfast into an artistic culinary experience.